Business
How to Add a New Business Account on Pinterest (2 Ways)
Learn how to add a Pinterest business account two ways: create one from scratch or convert your personal profile. Step-by-step for mobile and desktop.
Short answer
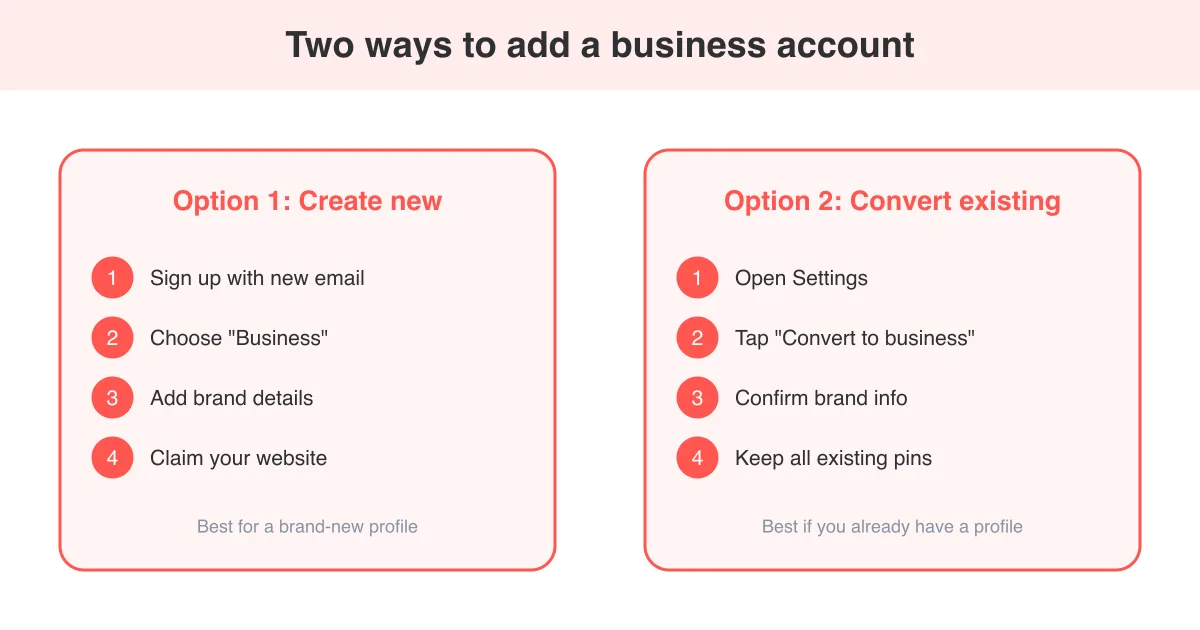
You can add a business account on Pinterest in two ways: create a brand-new business profile with its own email, or convert your existing personal account into a business account in Settings. Both are free, and converting keeps all your existing pins and boards intact. If you manage more than one brand, you can also link a second business account to the same login. For the basics of setting one up well, see how to use Pinterest for business.
Why add a Pinterest business account
A business account unlocks free tools a personal profile doesn't have: Pinterest Analytics, audience insights, the ability to run Pinterest ads, rich pins with extra metadata, and website verification so your domain shows up next to every pin you save from your site.
- Analytics on impressions, saves, outbound clicks, and audience demographics
- Access to Pinterest Ads Manager to promote pins
- Website claiming, which pulls your logo onto every pin from your domain
- Rich pins that auto-sync product, article, or recipe details
- A public contact button and business categorization for search
It's still free
A business account costs nothing to create or maintain. You only pay if you choose to run ads.
Option 1: Create a brand-new business account
This is the cleanest option if you want a dedicated brand profile separate from your personal one, since it starts empty with its own login email.
- Go to pinterest.com or open the app and tap Log out if you're signed in to a personal account.
- Tap Sign up, then select "Business" as the account type when prompted.
- Enter a new email address (you can't reuse one already tied to a Pinterest account), a password, and your age.
- Add your business name, website URL, and a short description of what you do.
- Choose a business category (e.g. Retail, Food & beverage, Media) so Pinterest can surface you in relevant search and ad placements.
- Verify your email, then follow the setup prompts to add a profile photo and cover boards.
Exact screen labels and the order of setup steps can shift slightly between app updates and web vs. mobile, but the create-account-then-pick-business-type flow has stayed consistent.
Option 2: Convert your personal account to business
If you already have a personal account with pins, boards, and followers you don't want to lose, converting keeps everything in place while unlocking business features.
- Log in to your personal account on desktop or the app.
- On desktop: click your profile picture, then Settings. On mobile: tap your profile icon, then the settings gear.
- Look for "Account settings" or "Account management," then select "Convert to business account."
- Enter your business name and website, choose a category, and confirm.
- Your existing pins, boards, and followers carry over automatically — nothing is deleted.
Good to know
Converting is reversible in most cases through the same settings menu, but a smoother approach is to plan which route you want before you start posting content.
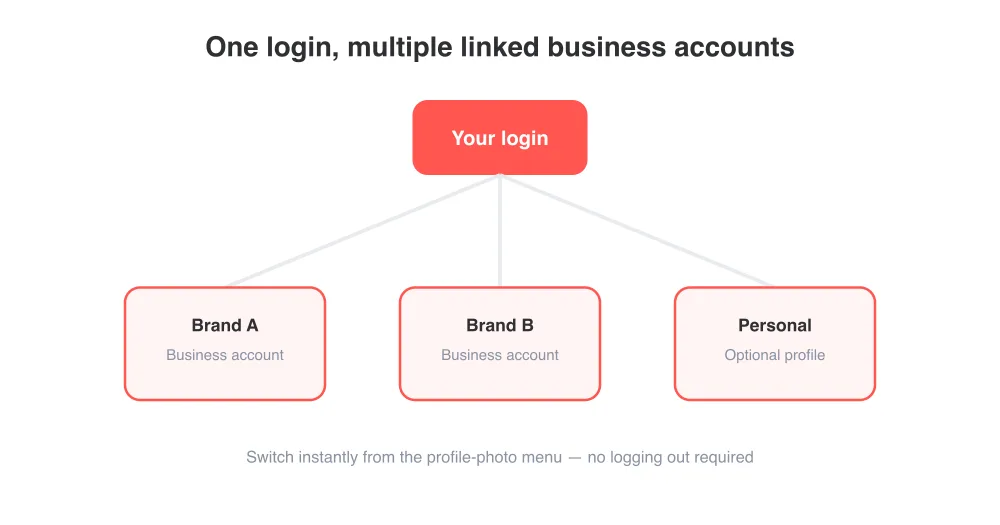
Adding a second (linked) business account
If you manage several brands, Pinterest lets you link additional business profiles to one login instead of juggling separate emails and passwords.
- While logged in, tap your profile photo in the top corner to open the account switcher.
- Select "Add account" (desktop) or "Switch account" then "Add account" (mobile).
- Choose "Create a business account" and follow the same setup steps as Option 1.
- Switch between linked accounts anytime from the same profile-photo menu, without logging out.
Claim your website after setup
Claiming your website is one of the most valuable steps after adding a business account. It attributes any pin made from your domain to your profile, adds your logo and follow button to those pins, and unlocks analytics for pins created by other people from your site.
- Go to Settings, then "Claim," then "Claim a website."
- Choose a verification method: add an HTML tag to your site's head, upload an HTML file, or add a DNS TXT record.
- Follow the on-screen instructions for whichever method your site host supports, then click Submit.
- Verification can take a few minutes to a day depending on the method and your DNS provider.
Common snag
If verification fails, double-check the tag or file wasn't stripped out by your site builder or caching layer, then try again.
What to do once your business account is live
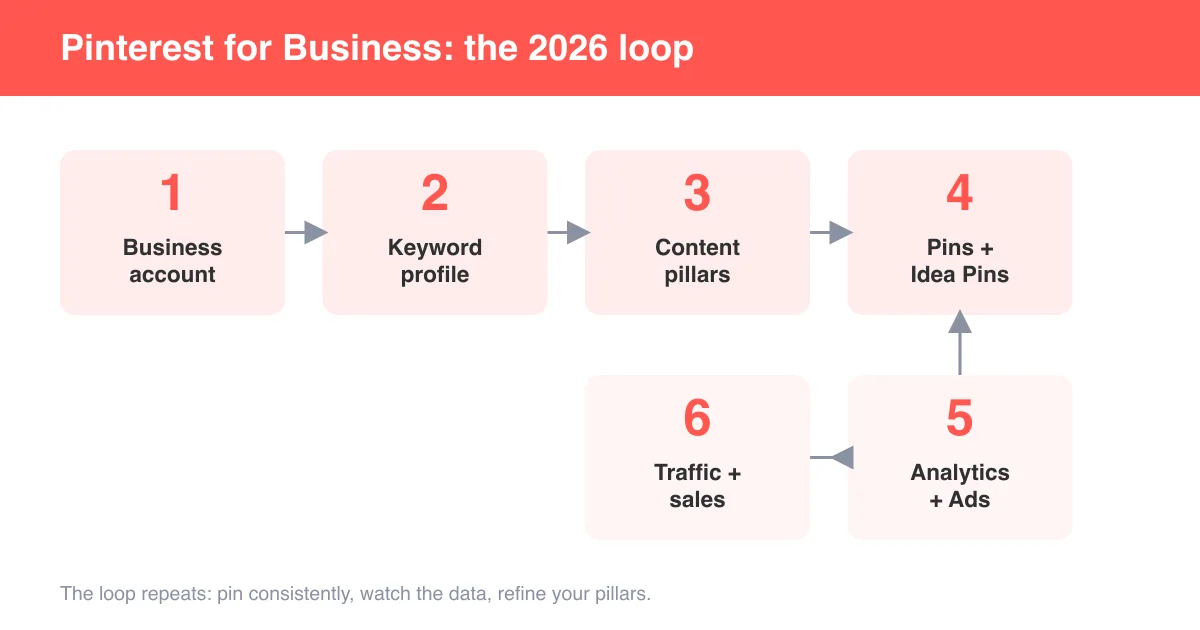
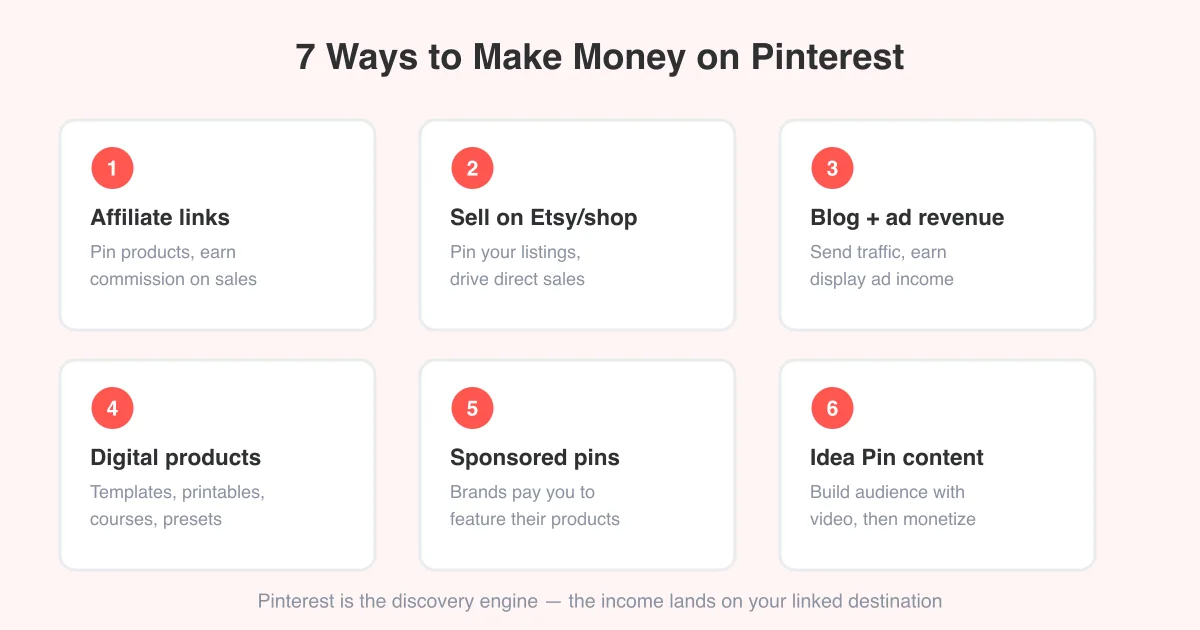
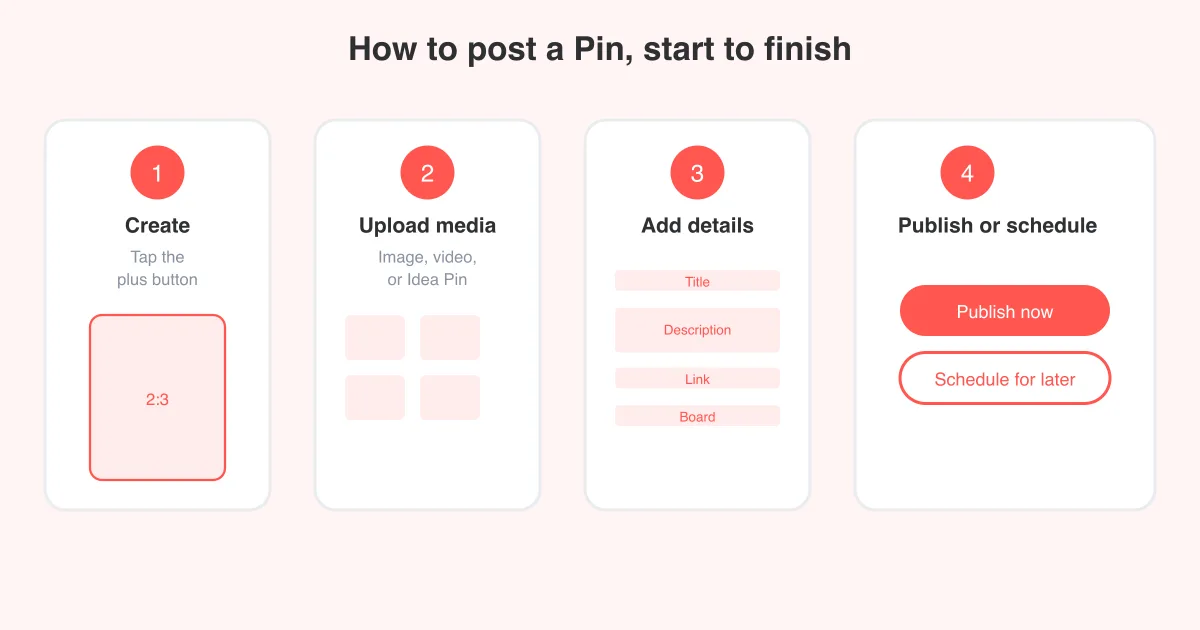
With the account created and your site claimed, focus on building a content routine. Check out how to post on Pinterest for pin-creation basics, and how to make money on Pinterest if monetization is the goal.
- Fill out your profile bio, location, and business category completely
- Create a handful of boards organized around topics your audience searches for
- Turn on rich pins for products, articles, or recipes if relevant
- Check Analytics weekly to see which pins drive the most outbound clicks
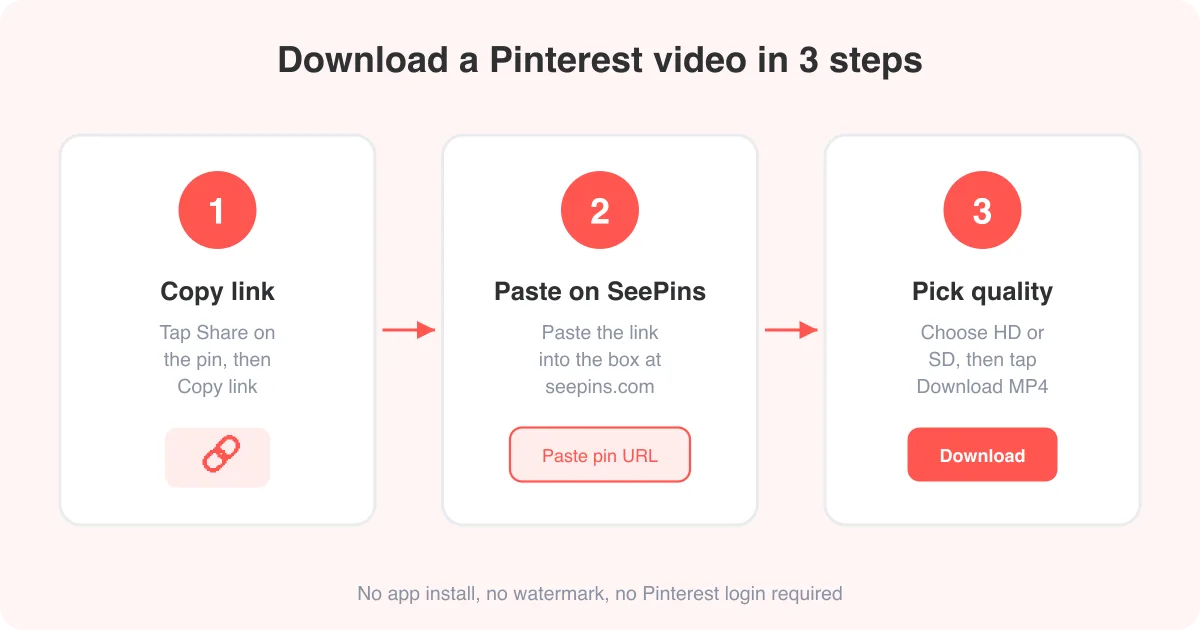
- Save any inspiration you find with a Pinterest video downloader or photo downloader for internal reference boards
Frequently asked questions
Yes. Creating or converting to a business account costs nothing. You only pay if you choose to run Pinterest ads.