Guides
How to Post on Pinterest: A Step-by-Step Guide for 2026
Learn how to post on Pinterest from mobile or desktop in 2026: create a Pin, add a title, description, link and board, pick the right image size, and schedule it.
Short answer
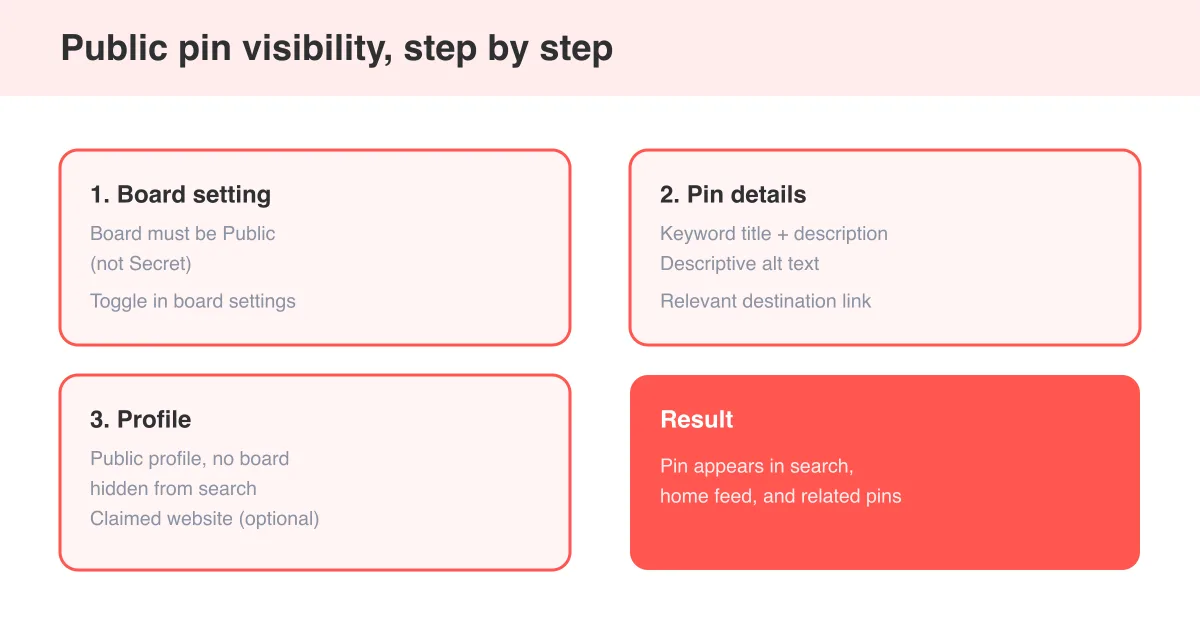
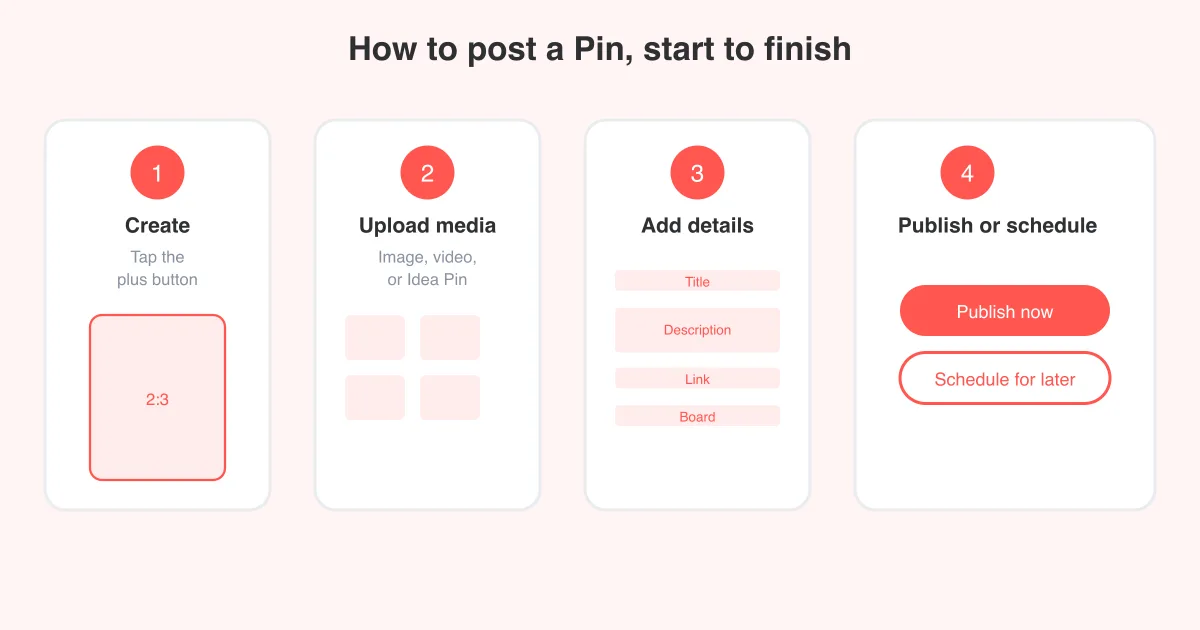
To post on Pinterest, tap the plus (create) button, upload an image, video, or build an Idea Pin, then add a title, description, destination link, and a board before publishing. The steps are nearly identical on the mobile app and on desktop, and you can also schedule Pins ahead of time from the same creation screen. For the basics of visibility, see how to post a public pin on Pinterest.
Before you start: what you need
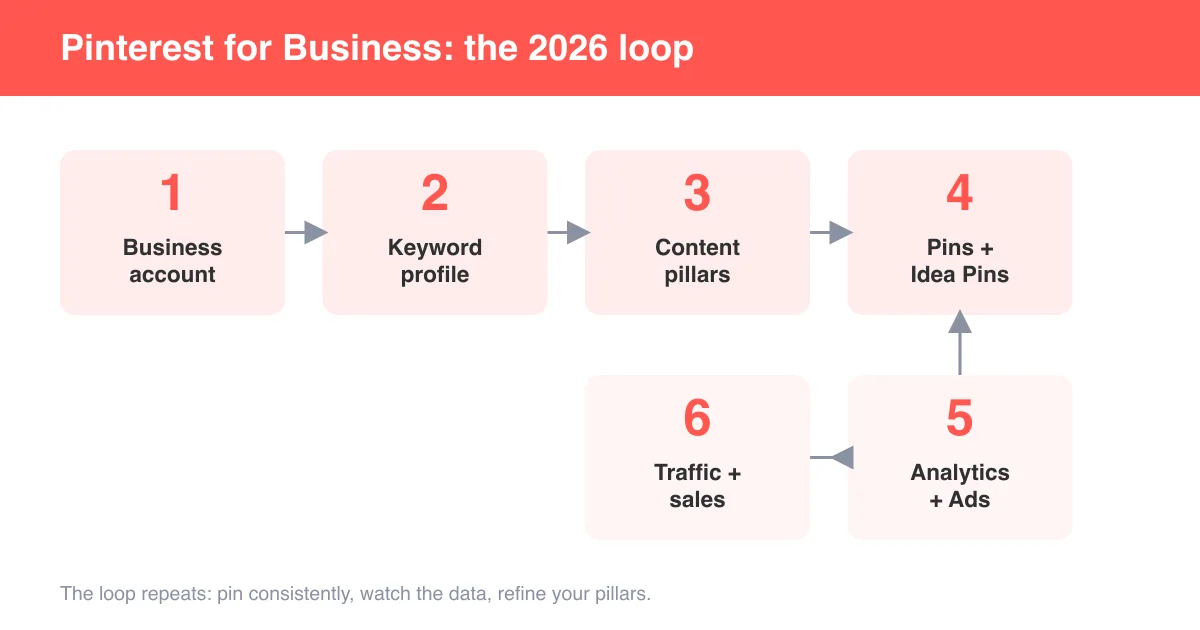
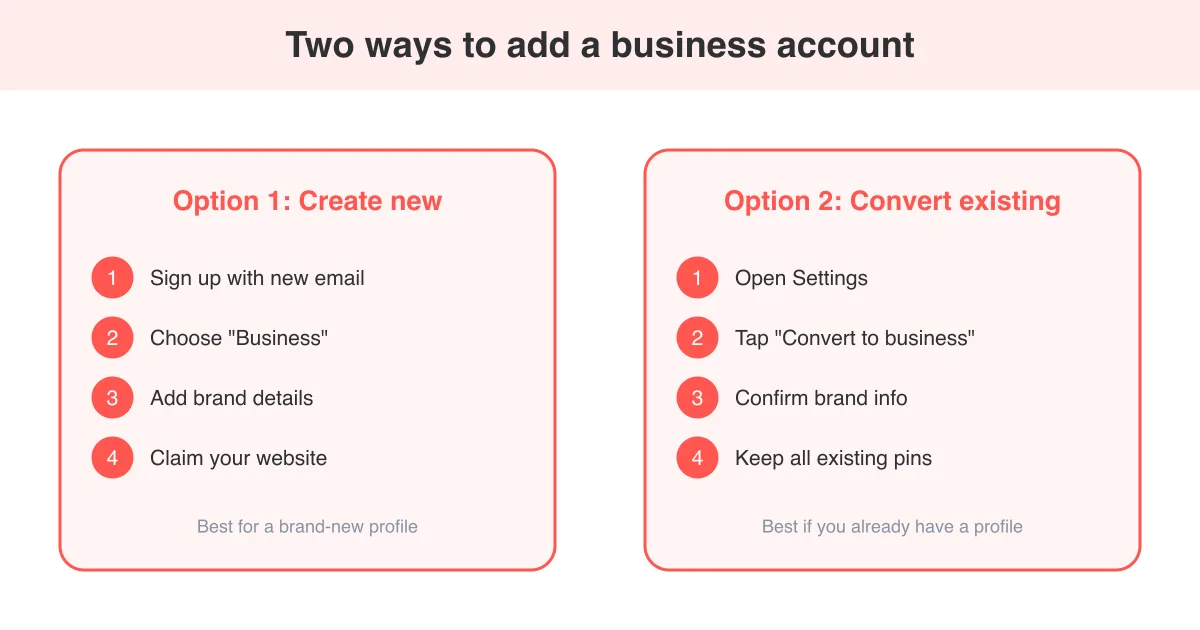
Posting on Pinterest is quick once you have three things ready: an image or video that fits the platform's format, a destination link (optional but recommended), and a board to save the Pin to. If you're posting for a brand or shop, it also helps to have a Pinterest business account set up so you get access to analytics and richer Pin formats.
- A Pinterest account (personal or business) that's logged in
- An original image, video, or a set of images/text for an Idea Pin
- A destination URL if you want the Pin to drive traffic to a website or product
- At least one board (existing or new) to organize the Pin
Only post content you have rights to
Pinterest's guidelines require that you own the content or have permission to share it. If you're saving someone else's Pin rather than creating new content, use the repin/save button on their existing Pin instead of re-uploading their media.
How to post on Pinterest from the mobile app
- Open the Pinterest app and tap the plus (+) icon, usually at the bottom center or top of the screen.
- Choose 'Create Pin' (or the equivalent option for an image/video) or 'Create Idea Pin' if you want a multi-page format.
- Select the photo or video from your camera roll, or record new content directly in the app.
- Add a clear, descriptive title (aim for a few keyword-rich words).
- Write a description that explains what the Pin is about — this helps Pinterest's search and recommendation system show it to the right people.
- Paste a destination link if you want viewers to click through to a website, blog post, or product page.
- Choose an existing board or tap 'Create board' to make a new one.
- Tap 'Publish' to post immediately, or use the scheduling option to publish later.
Exact button labels and menu positions can shift slightly between app versions and operating systems, so if a step looks a little different on your screen, look for the closest equivalent option — the overall flow stays the same.
How to post on Pinterest from a computer
- Go to pinterest.com and log in to your account.
- Click the plus icon near the top of the page and select 'Create Pin' or 'Create Idea Pin'.
- Click 'Upload' or drag and drop your image or video file into the upload area.
- Fill in the title and description fields with clear, relevant details.
- Add the destination link in the link field if you have one.
- Select a board from the dropdown, or create a new board on the spot.
- Preview how the Pin will look, then click 'Publish' — or choose a future date and time to schedule it.
Desktop is generally the easier place to bulk-upload multiple Pins, organize boards, and fine-tune descriptions since you have a full keyboard and a larger screen to work with.
Choosing between an image, video, and Idea Pin
Pinterest supports a few different Pin formats, and picking the right one depends on what you're sharing.
- Static image Pin — best for photos, graphics, infographics, and product shots. Simple to make and works well with a strong destination link.
- Video Pin — good for tutorials, recipes, and demos; video tends to stand out more in the feed and can boost watch time.
- Idea Pin — a multi-page, story-like format made of several images or video clips with text overlays; it doesn't support an external destination link in the same way standard Pins do, but it's useful for tips, step-by-step content, and building followers.
If you're trying to grow reach or drive sales rather than just build a following, a standard image or video Pin with a clear link is usually the more direct choice. For a broader look at growing an account with a business goal in mind, see how to use Pinterest for business.
Best image and video sizes for Pinterest
Pinterest is a vertical, discovery-first feed, so Pins with a taller aspect ratio tend to take up more space and get noticed more easily.
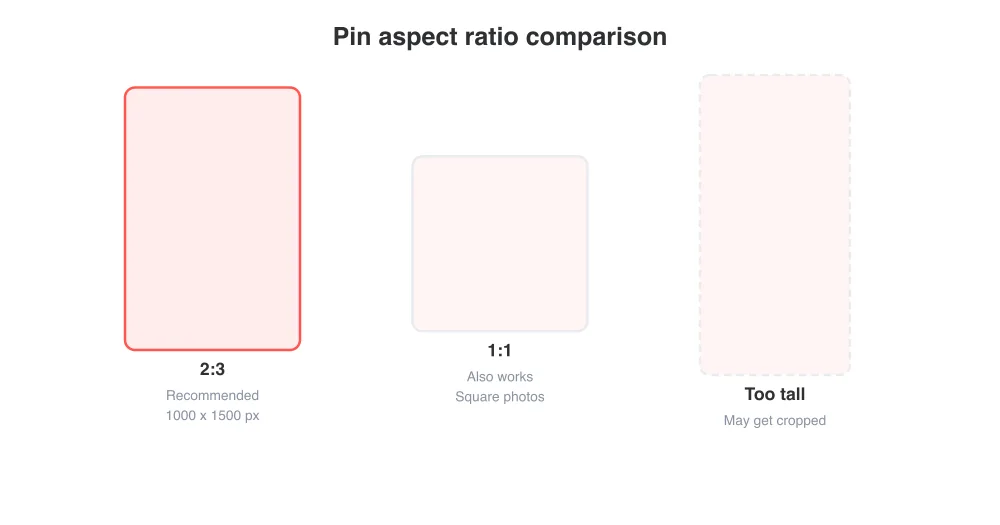
- Recommended aspect ratio: 2:3 (for example, 1000 x 1500 pixels)
- Square Pins (1:1) also display fine but take up less visual space in the feed
- Avoid extremely tall Pins (much taller than 2:3) — Pinterest may crop or compress them awkwardly
- For video, vertical or square formats work best, with a minimum recommended resolution of 1080 x 1080 pixels
- Keep file sizes reasonable so uploads don't time out on slower connections
Writing titles, descriptions, links, and choosing a board
Pinterest works a lot like a visual search engine, so the text you add matters almost as much as the image itself.
- Title: keep it short and specific — front-load the main keyword someone would search for.
- Description: write 1–3 natural sentences describing what's in the Pin and who it's for; avoid keyword stuffing.
- Link: point to the most relevant page — a blog post, product, or recipe page rather than a generic homepage.
- Board: pick (or create) a board whose name and topic match the Pin's content, since board context also feeds Pinterest's recommendation system.
If your goal is to make sure other people can actually find and save the Pin (rather than keeping it private), double-check your settings by reading how to post a public pin on Pinterest.
How to schedule a Pin instead of posting immediately
- Go through the normal Pin creation flow and fill in the title, description, link, and board.
- Instead of tapping 'Publish', look for the scheduling or 'Publish at a later date' option on the creation screen.
- Pick a future date and time for the Pin to go live.
- Confirm — the Pin will sit as scheduled/draft until the time you selected, then publish automatically.
Why schedule?
Spacing Pins out over the week (instead of posting a big batch all at once) tends to keep a steadier stream of content in front of your followers and gives each Pin room to be picked up by the algorithm.
Tips to help your Pins get more reach
- Use bright, high-contrast images with clear focal points — they stand out while scrolling.
- Add text overlays on the image itself for how-to or listicle content, since many people skim without reading descriptions.
- Post consistently rather than in occasional large batches.
- Save Pins to boards that closely match their topic instead of one catch-all board.
- Link to fast-loading, mobile-friendly pages, since a slow destination page can hurt engagement even if the Pin itself performs well.
- Track which Pins perform best in your business account analytics and create more content in that style.
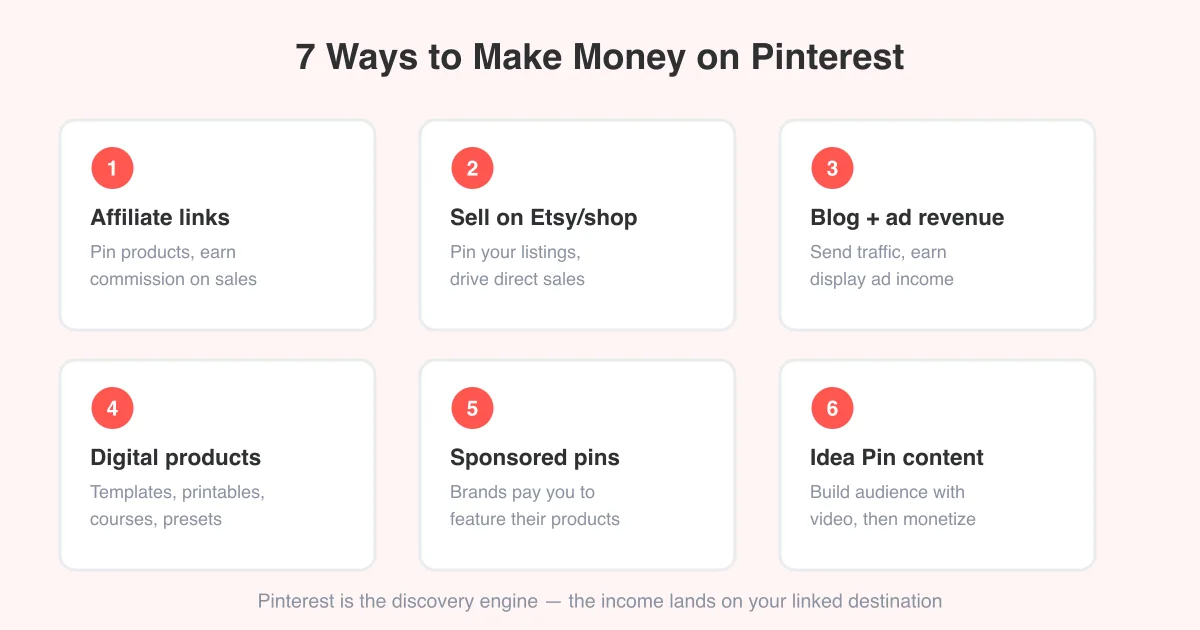
If you're building toward turning Pinterest traffic into income, pairing consistent posting with the right monetization strategy matters — see how to make money on Pinterest for ways creators and businesses commonly earn from the platform.
Frequently asked questions
Log in, tap or click the plus (create) icon, upload an image or video, add a title, description, and destination link, choose a board, then publish. The steps are the same for a first Pin as for any later one.